
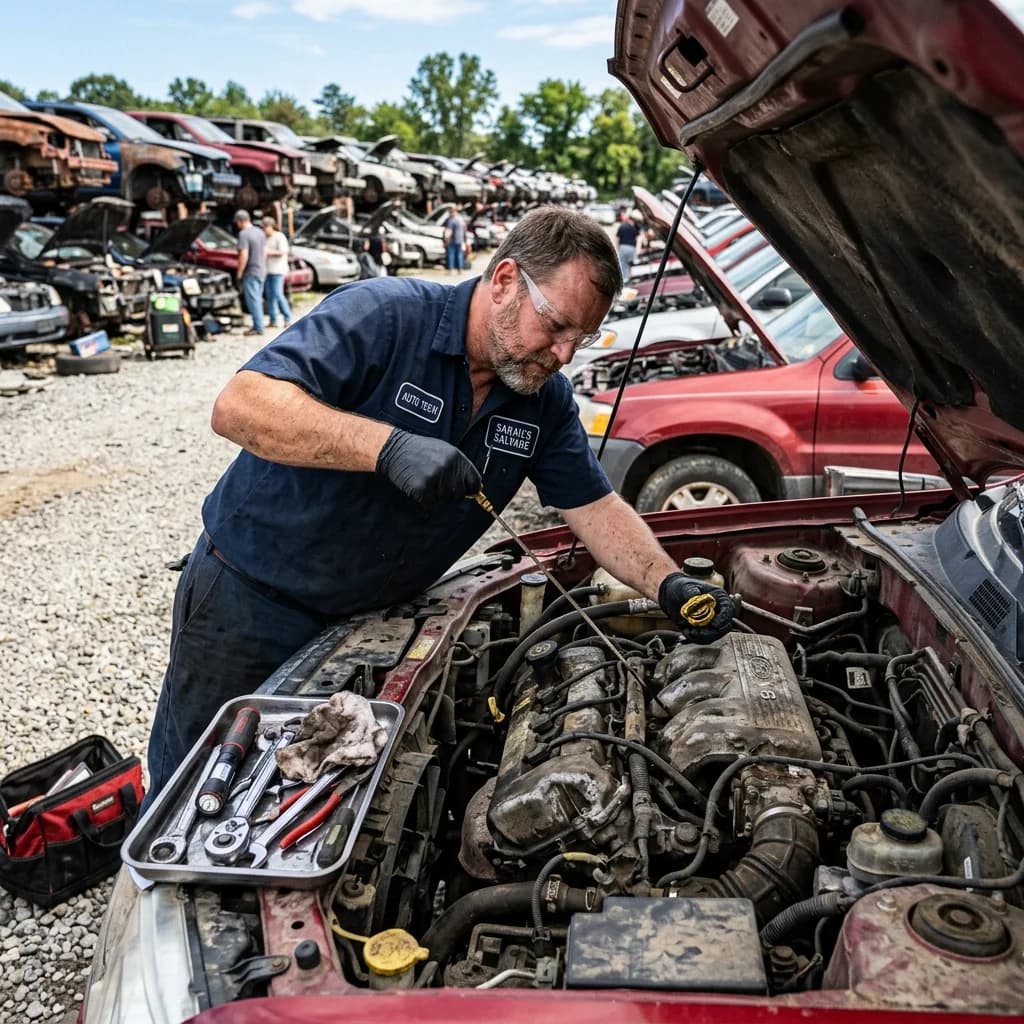
Key Takeaways
- Check oil cap for milky residue (head gasket failure = walk away)
- Pull the dipstick — metal shavings or glitter = internal damage
- Spin the crank by hand — should rotate smoothly without grinding
- Ask why the car was junked — accident damage is better than engine failure
The 12-Point Used Engine Inspection Checklist
1. Check the Oil Cap
Remove the oil cap and look at the underside. Milky, mayo-like residue means coolant is mixing with oil — a blown head gasket or cracked head. This is the #1 deal-breaker. Walk away immediately.
2. Pull the Dipstick
Check the oil level and condition. Look for:
- Metal shavings/glitter — Internal engine damage. Do not buy.
- Very black, burnt-smelling oil — Overdue maintenance, potential sludge buildup
- Correct level — Low oil suggests the owner didn't maintain it or it leaked heavily
3. Check Coolant Condition
Remove the radiator cap (if accessible) or look at the overflow tank. Oil in the coolant (rainbow film or brown sludge) means head gasket failure. Green/orange/pink coolant that's clean is good.
4. Spin the Crankshaft
Use a wrench on the crankshaft pulley bolt and rotate the engine clockwise. It should turn smoothly with even resistance. Grinding, binding, or uneven rotation means internal damage (seized bearing, bent rod, timing issue).
5. Inspect for External Cracks
Look for cracks in the block and heads. Pay attention to:
- Around freeze plugs (common crack points)
- Between cylinders on the block
- Exhaust manifold mounting surfaces on the head
6. Check for Leaks
Look at the bottom of the engine and around all gasket surfaces for:
- Oil leaks (rear main seal, oil pan, valve covers)
- Coolant leaks (water pump, thermostat housing, intake manifold)
- Heavy caked-on oil/dirt suggests long-term leaking
7. Inspect the Timing Chain/Belt
If accessible, check the timing cover for leaks or remove a small inspection port. Listen for timing chain rattle by rotating the crank. On belt-driven engines, ask about mileage — belts should be replaced every 60,000-100,000 miles. Budget $200-$400 for a timing belt/chain replacement on installation.
8. Check Cylinder Walls (if head is off)
If you can see inside the cylinders, look for scoring (vertical scratches on the cylinder wall). Light honing crosshatch marks are normal and good. Deep gouges mean the engine needs a bore or is junk.
9. Look at the Spark Plugs
Pull a spark plug or two. Normal plugs are tan/light brown. Oil-fouled (wet, black) means worn rings or valve seals. White/blistered means overheating. Heavy carbon means rich running, which is less concerning.
10. Verify the Engine Code
Match the engine code stamped on the block with your vehicle's requirements. Don't rely on "it's the same engine." Verify the actual casting number, engine code, and displacement.
11. Check the Donor Vehicle
- Mileage — Lower is better. Under 100K is ideal.
- Why it's here — Rear-end collision = engine is probably fine. Front-end collision = inspect carefully for frame/mount damage that may have stressed the engine.
- Maintenance stickers — Oil change stickers in the door jamb show maintenance history.
12. Compression Test (if available)
The gold standard. Each cylinder should produce 125-180 PSI (varies by engine). More important than absolute numbers: all cylinders should be within 10% of each other. A cylinder that reads 90 PSI when others read 150 PSI has a problem (bad rings, valve, or head gasket).
Ready to shop? Search for engines at salvage yards near you. For pricing, read our engine replacement cost guide.